Preparing the walls for interior painting can be daunting at first, however, if you have the tools and you know the right steps, it’ll be like a walk in the park. So to help you do an incredible job on the interior wall prepping, we have provided the step by step process below. We have also mentioned some tips at the end that you will find very useful when painting the home. So with that said, let’s get started:
Step 1: Cleaning Interior Walls
First of all, you need to properly clean all the ‘to be painted’ walls so that you can easily remove the existing paint. Just give a quick sweep via a towel or a vacuum cleaner. For the walls of bathroom or kitchen where there are residues like oils, shampoos, toothpaste etc., you can use water and laundry detergent solution.
If there is a wallpaper on the walls, then first remove it, and then clean the wall. If you see any mould, get an anti-mould solution and thoroughly apply it on the affected area.
Step 2: Removing Old Paint
If you have washed the wall or applied anti mould solution, then wait for the wall to dry completely and then start removing the paint. You don’t have to get rid of the paint on the entire wall, just target the flaking or cracked areas.
Scrape the paint with a paint scraper and then smooth out the surface using sandpaper. If the area is large, using an electric sander makes more sense and will get the job done quicker.
Step 3: Fixing Damages
Interior house painting is not just about cleaning the walls and then painting them with a chic colour. It’s about fixing the flaws so there are no problems later on. So, look for cracks, or loose patches of the plaster around door frames and windows.
If you find some, remove the remaining plaster of that area and fix it with a fresh later of plaster. Using flexible sealant will be better.
Step 4: Putting Up Lining Paper (Optional)
Now this is an optional step because it only benefits in certain situations. For instance, if your walls have very large repair areas or several fine cracks making the wall uneven then you can use the lining paper to cover them.
Just get a good quality one from a hardware store and apply it onto the repaired areas to get a smooth and flawless base for applying paint.
Step 5: Priming the Walls
This is the last step but you need to first find out the type of the existing paint on the wall to decide if you even need to apply the primer or not. If the old paint is water-based then you can just paint over it without having to apply any type of primer.
However, if the paint is oil-based, gloss or semi-gloss then you definitely need to apply primer over them to make the paint perfectly adhere to the wall.
Useful Tips
- If your walls have stubborn stains such as the ones left behind by permanent markets, oil or water then you need to opt for a special type of primer. This is because these stains can seep through the regular primer and appear on the new coat of paint which will basically ruin it. So get the stain blocking primer if the stains don’t go away after a thorough wash.
- When choosing a colour for the paint, we suggest that you first try it out on the wall that needs to be painted. You don’t have to paint the color on the wall, rather, you can stick the swatches onto the wall using tape and see how they appear in the light inside your home. Since the light will be different in the store, you cannot judge how a colour will appear on your wall based on it. Test different colours that you find interesting and see which one pops.
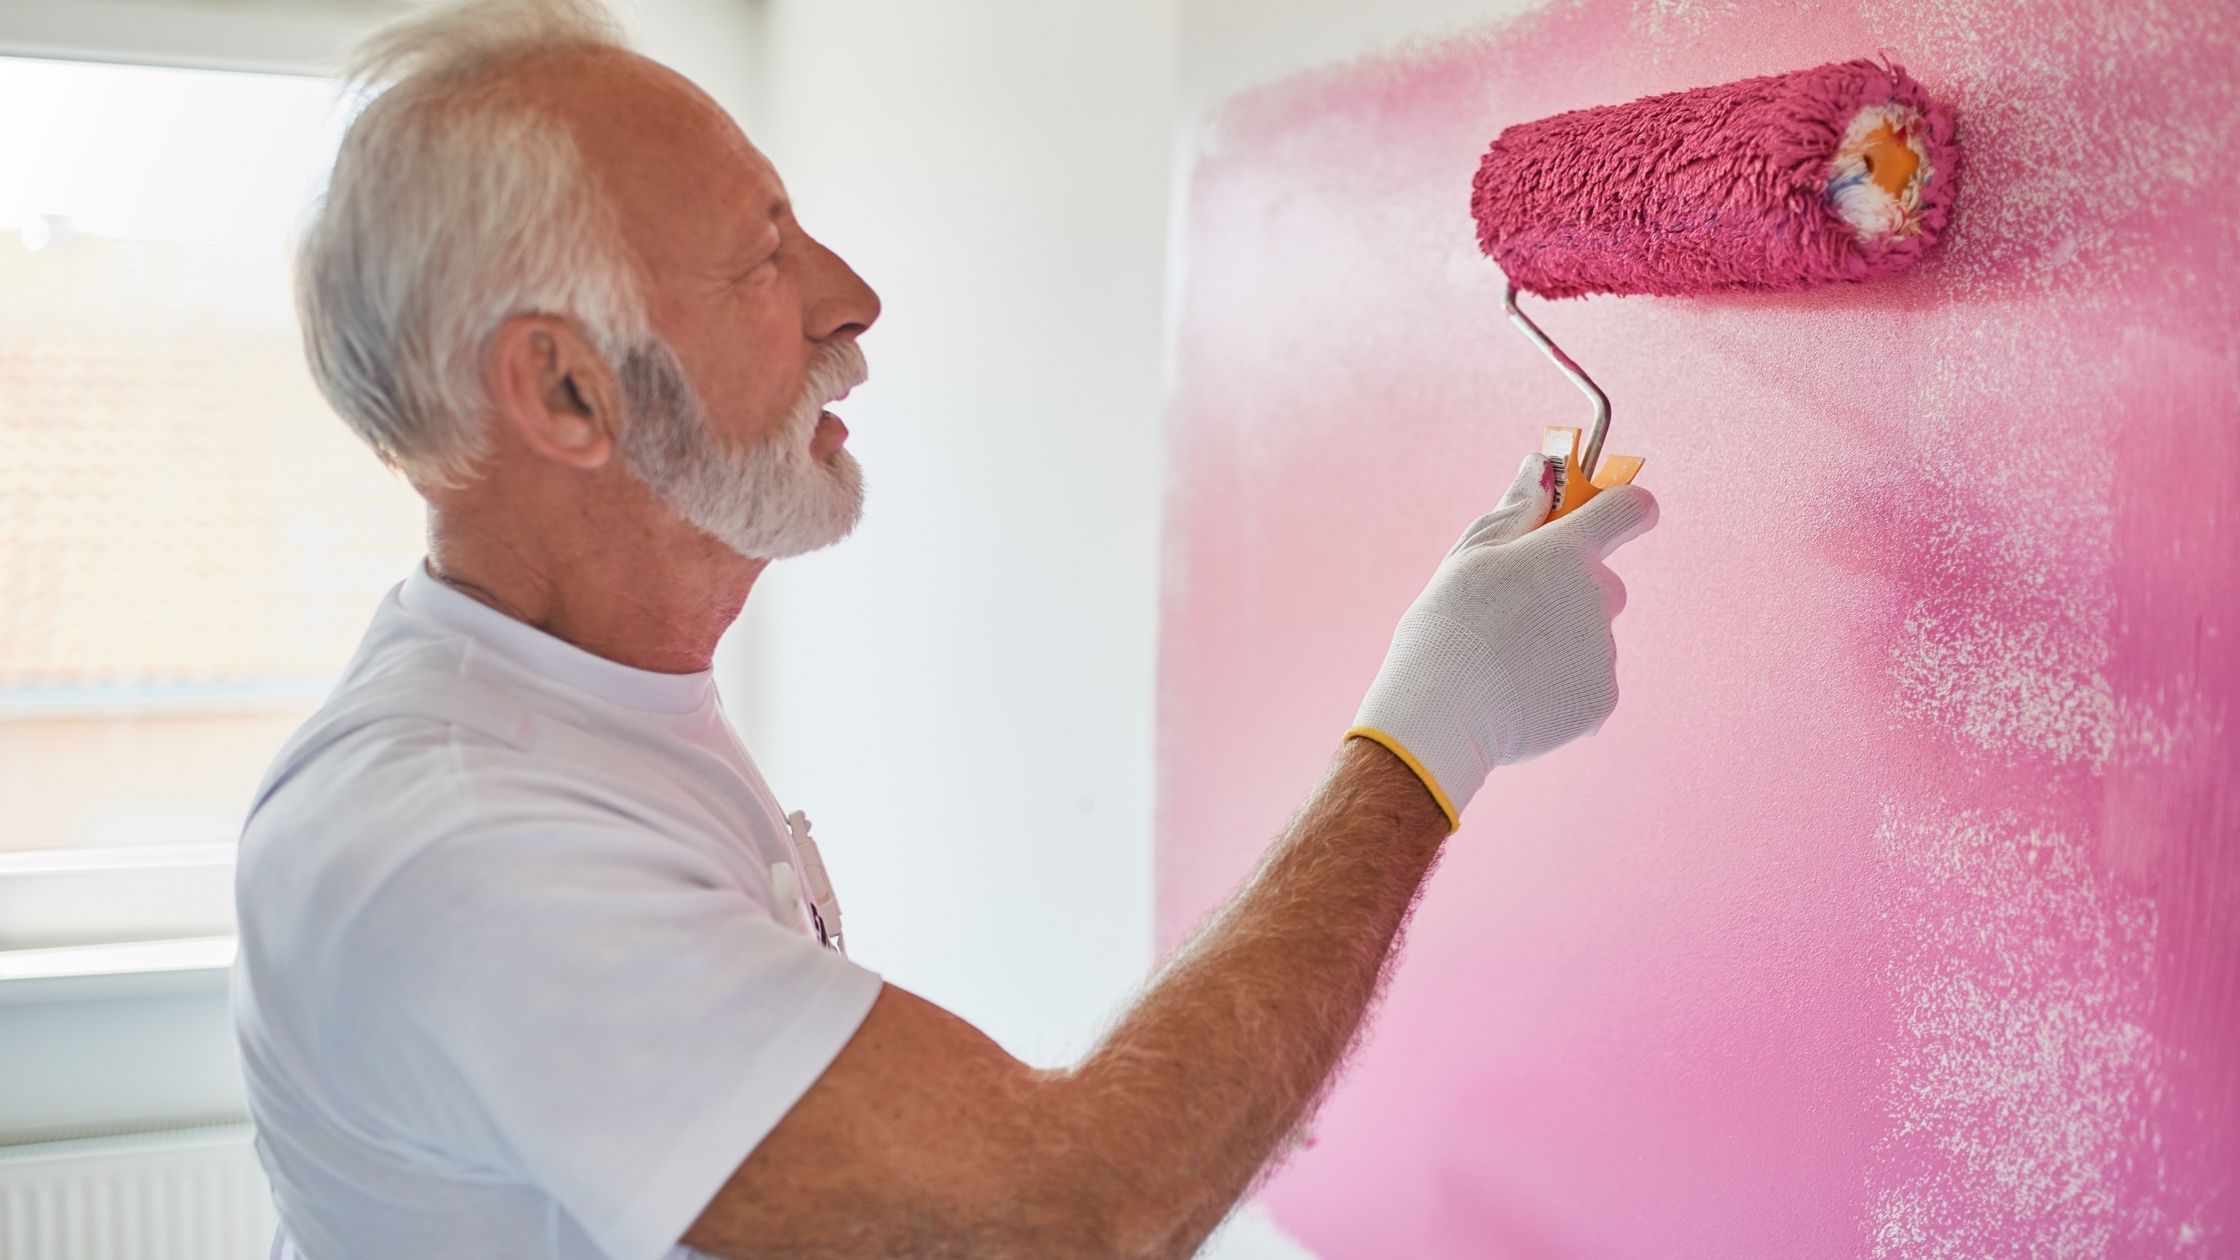
- When you are finally finished with the priming and are about to paint, we suggest that you do it in a ‘W’ pattern. Start from one corner of a wall and roll on a W in 3’ x 3’ manner and then fill in the remaining area without lifting your roller. Just repeat this process until you finish the whole section. This will help you hide the places where the rolled was lifted and put back again. It will also help in hiding the seams.
Remember, when you are priming the wall, get the best quality primer there is to ensure your paint perfectly adheres to it. Furthermore, tape any adjacent walls, woodwork and switches on the wall before priming or painting to ensure they remain unaffected.


