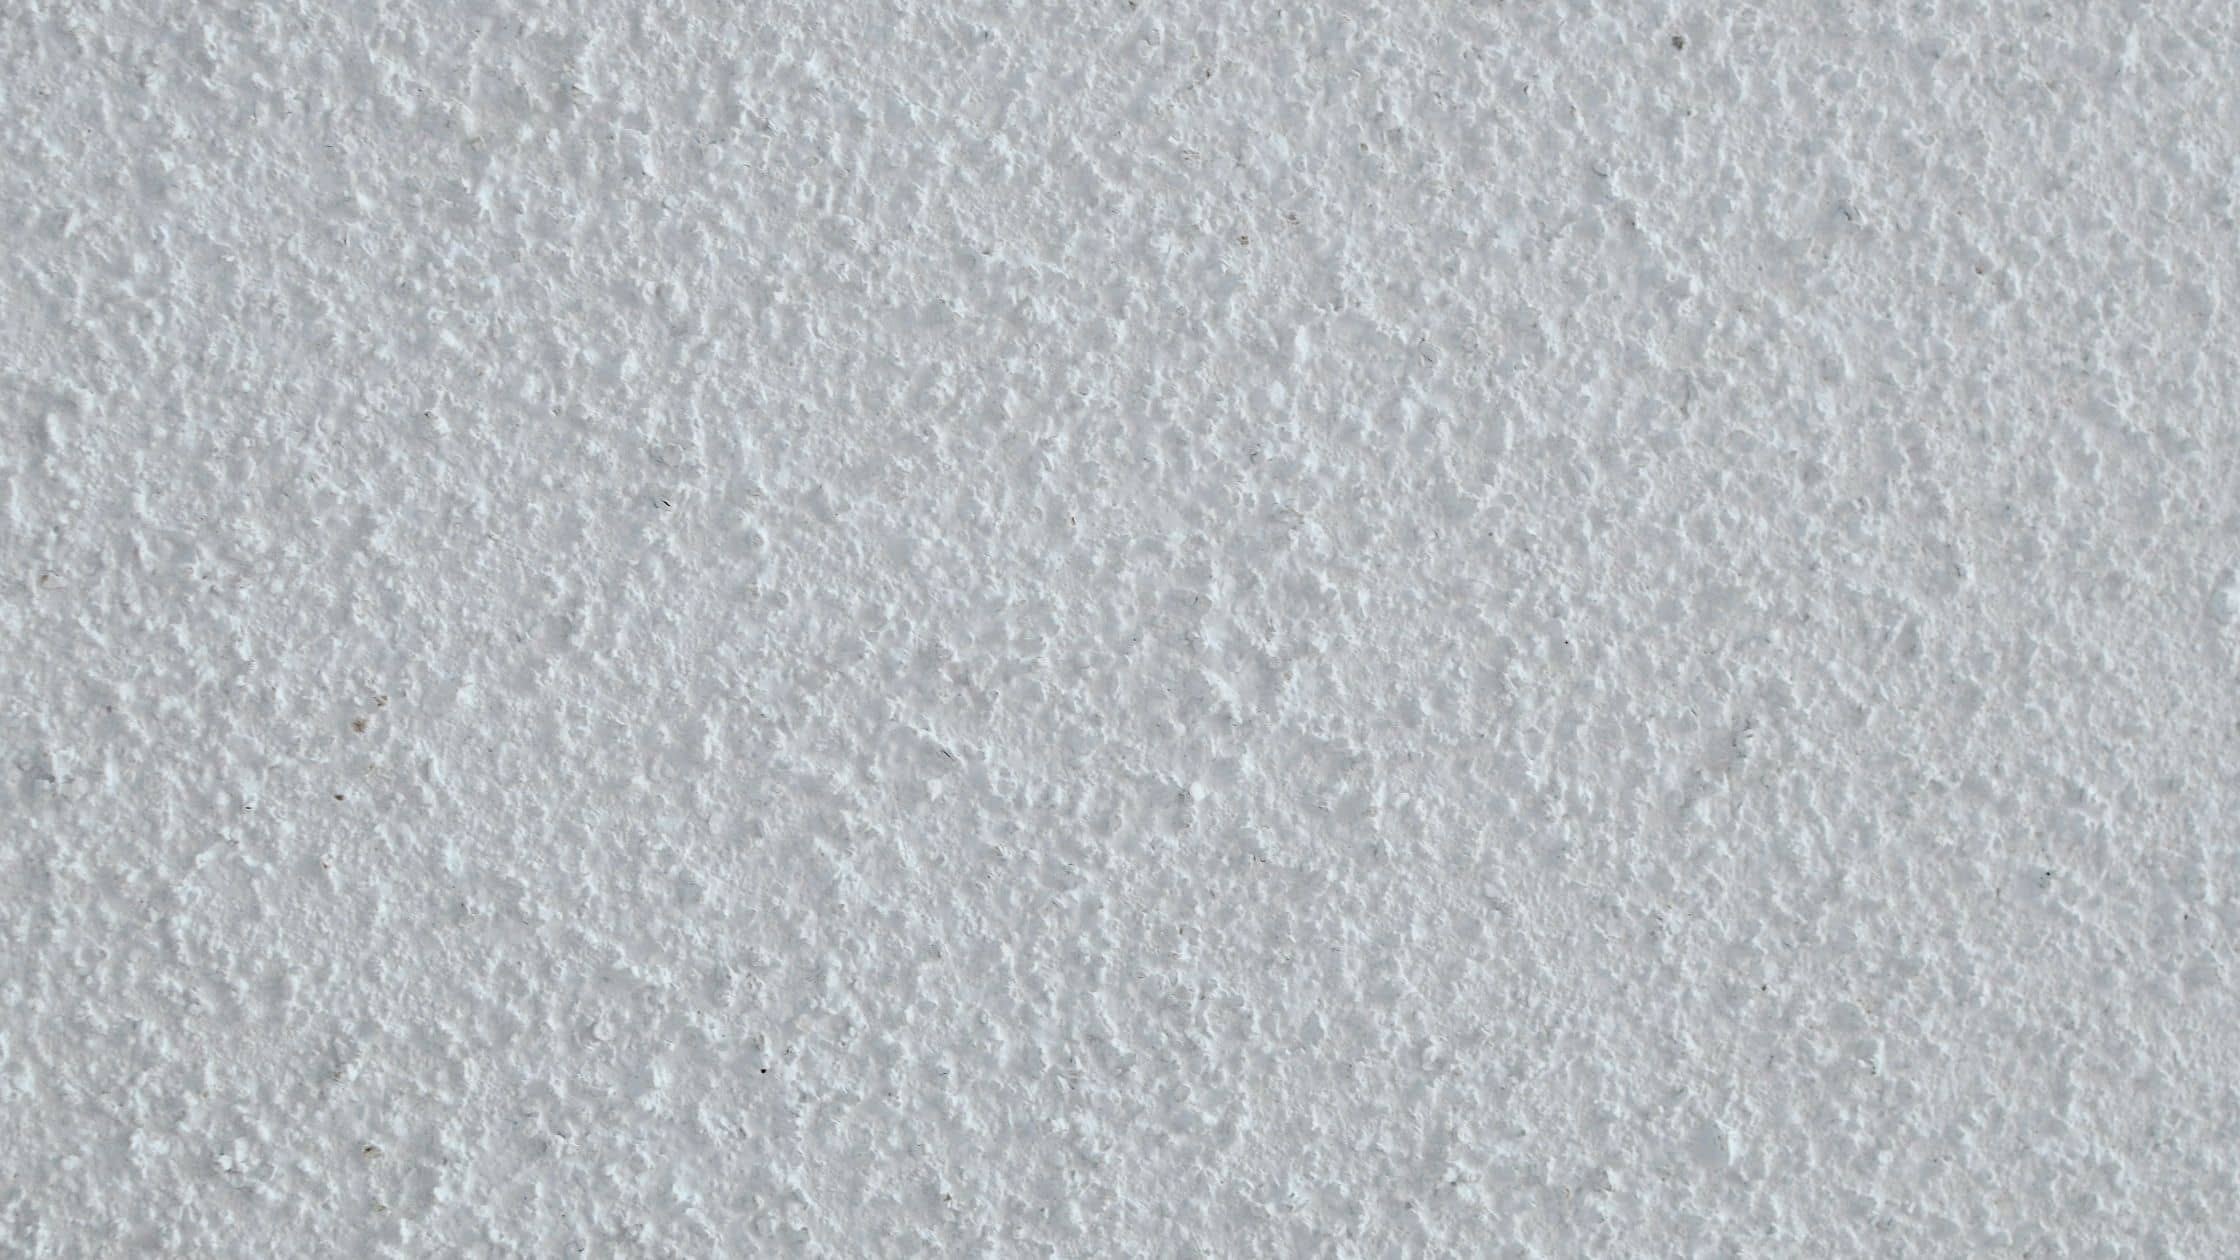
Are you fed up watching that old popcorn texture ceiling every time you lie in your room or look up? Well, you’re not the only one; many people find this kind of ceiling outdated and replace it with a more stylish one. So before you can get that chic colour paint and apply it on the ceiling, you need to deal with this popcorn texture. Here is the complete step by step process of removing it, and prepping the ceiling for new paint.
Step 1: Asbestos Test
Before starting your process of popcorn ceiling removal, you need to ensure that there is no asbestos in your ceiling. Before the early 1980s, the ingredient, Asbestos, was used in ceilings with popcorn textures. It was used to deal with the sound travel and also as a retardant for fire.
So to check if it’s there or not, you can send a sample of the ceiling to a lab and have it tested. Make sure to watch a video on YouTube regarding testing asbestos before doing anything as it’s a matter of your own safety too; asbestos is a carcinogenic, so it can harm you.
If the lab results come positive then you need the help of a professional who has license in abatement of asbestos to remove it or cover it with drywall or paneling.
Step 2: Gather Tools
Now once your ceiling is free from asbestos, you can start working on removing the popcorn texture. You don’t really need any kind of special tools for this, just a few things, most of them which will be found in your garage will do the job. Here’s what you need:
- Wide knife; can be a drywall taping or putty knife
- Garden sprayer
- Plastic sheeting or drop cloths
- Safety goggles
- Ladder
- Dust mask
- Painter’s tape
Step 3: Protect Walls and Floors
Since you are directly scraping the ceiling off, everything will fall on the floor and it can create a mess if you don’t take and proactive measures. We suggest that you first remove any furniture the room has, then cover the walls and floor. You can use drop cloths or plastic sheets for this.
Use the painter’s tape to hold the sheets in place. It is also better if you take down the fans and lights in the room and cover any electrical wires and outlets using painters’ tape.
Also, turn off the HVAC system and cover all the vents in the room so that the dust, and dirt from all the scarping doesn’t go into vents and come out later when you turn on the heating/cooling system.
Step 4: Prepare The Ceiling
Before you start the process of scraping, you need to prepare the ceiling for scraping. For this, you need to dampen the surface of the ceiling with water. This is because wet scraping is always easier than dry scraping. So take the garden sprayer, and start spraying water in a 4×4 area of the ceiling.
Your goal is to dampen the ceiling a little, do not overdo it by soaking the surface completely because the water can then reach the sheetrock underneath the ceiling and damage it.
Step 5: Scrape It Off
After wetting the ceiling, wait for 15 minutes to let the water completely absorb into it and then begin the process of scraping. You will need a wide knife; go for a putty or drywall taping knife. Gently run the knife along the surface of the wet ceiling.
Make your way around the ceiling until all of the texture has come off. Some areas might be difficult to scrape so you can visit them later by spraying water again and then scraping them off.
Step 6: Prep The Ceiling
Since you have scraped off all the popcorn texture, the ceiling would require a coat of paint. So before painting it, you will have to prepare it. We suggest that you do not leave this task for another day because your hands and clothes are already dirty and the walls and floors have been covered as well.
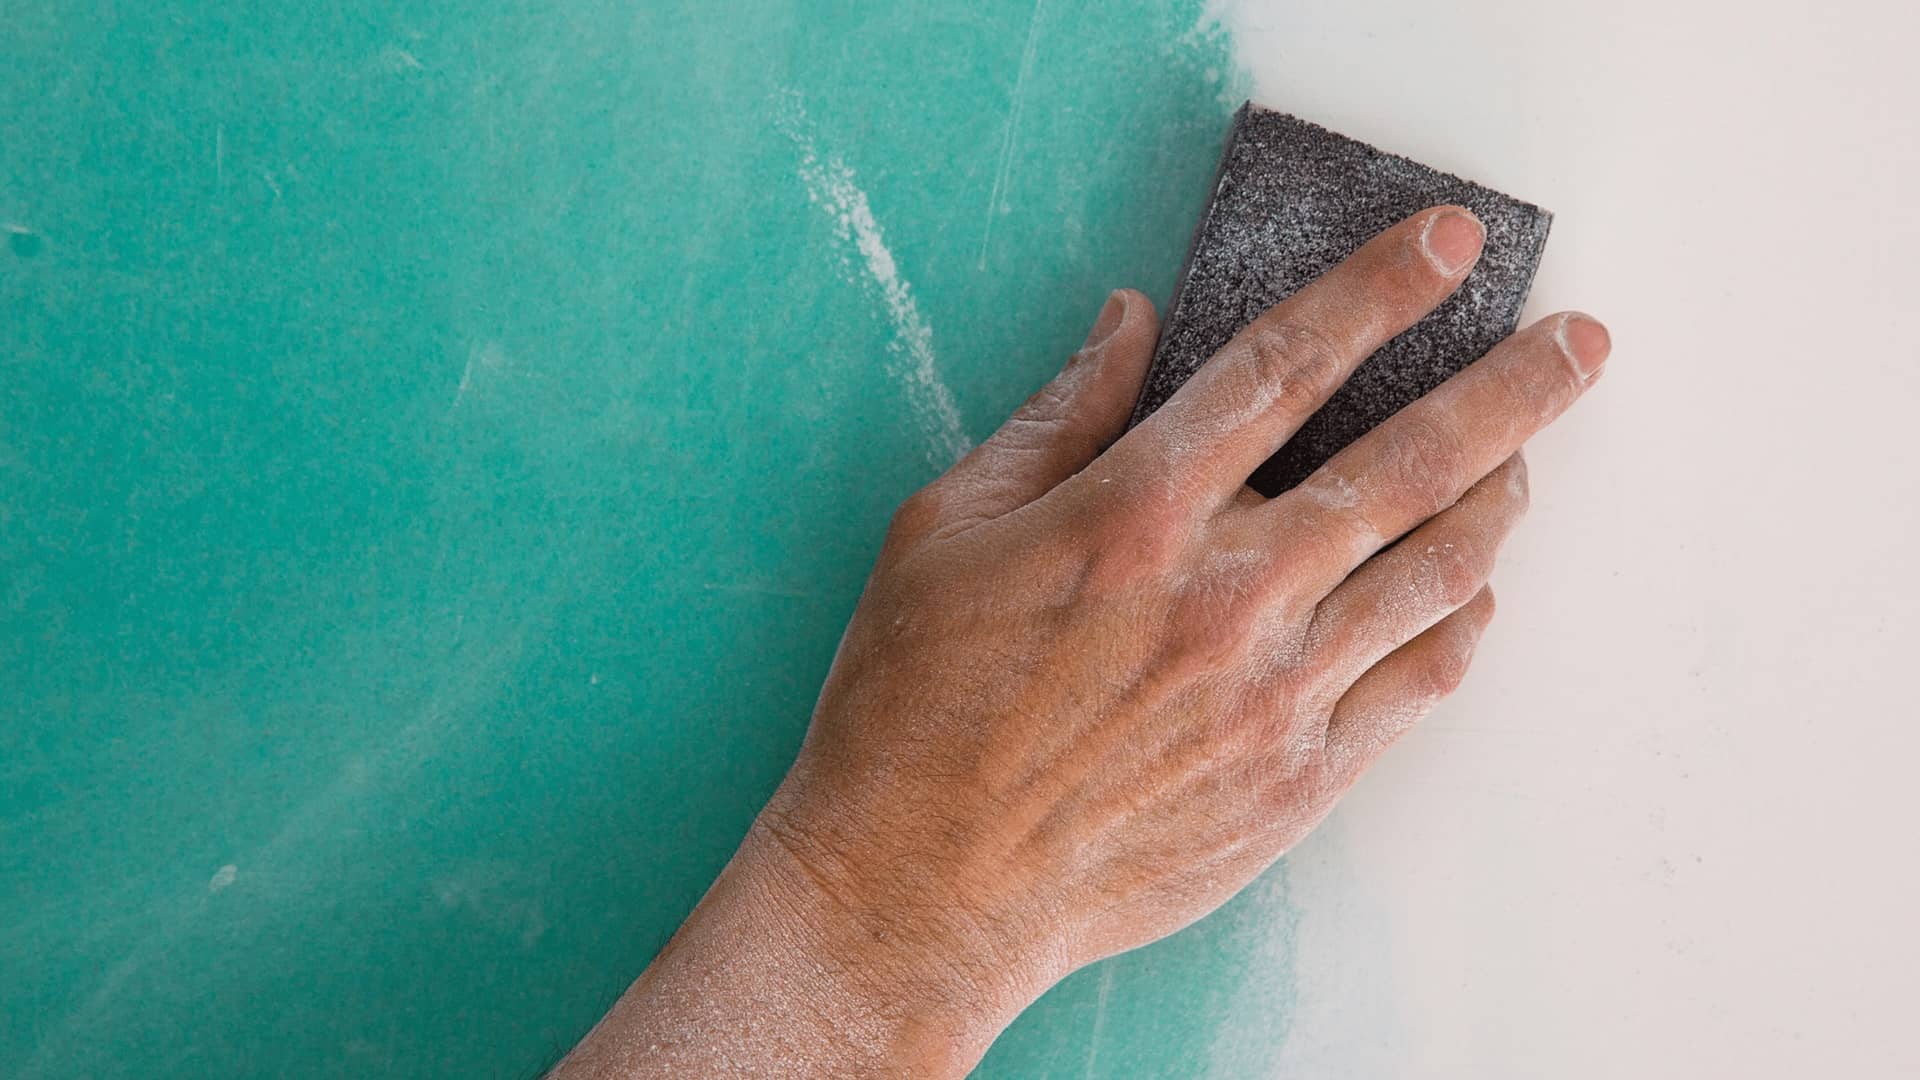
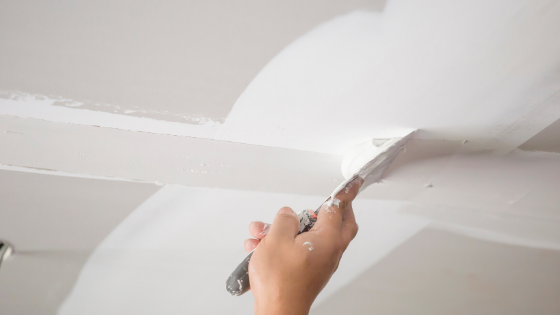
So now you need to start sanding the ceiling to make it even. You might find some underneath issues after scraping like screws or joints, you can cover them with a compound and then sand it when it dries to make it even. Once sanding is done, get a good quality primer and prime the whole ceiling.
Now the popcorn texture is removed from the ceiling and it is also ready for painting, so if you are not tired you can paint it right away as well. Once the paint job is finished, just remove the plastic sheets, vent and electric outlet covers, and reinstall lights and fans. Your job is done now!


