There are tons of things that can go wrong with the walls, whether they are made of concrete or wood. It is your job to inspect the walls, at least for the most common issues, and then fix those problems before applying the new paint.
In this detailed guide, we will discuss about the 5 most common wall conditions that can ruin your fresh paints in a few months after it is applied. Don’t worry, we will also provide insights to solve them so you can get started today.
5 Major Ways Your Existing Wall Conditions Can Affect Paint:
Chalking of Paint:
Paint occurs when your wall is exposed to the sunlight for a very long time or the paint you used previously had very bad quality. The chalky feeling is defined as the formation of white powder on the wall.
To know if your existing wall is chalky, simply slide your finger on it and see if your finger has any chalk on it. If it does, then your wall is chalky. So if you paint on a chalky wall, the new paint will soon start to come off as chalk too because the root problem of the chalking wall is not fixed.
Solution: If your wall is chalking already, we suggest that first remove as much chalk residue as you can by scrubbing using a brush with stuff brittle. Then you can apply a good quality primer made of acrylic latex or oil and apply paint afterward.
Flaking and Cracking Paint:
Have you seen the kind of paint that chips away from the wall and can crack as soon as you put your hand or finger on it? This kind of paint is not stuck to the wall and its bond is not fully cured, which is why it starts to peel soon. This happens because of the humidity and water.
If the wall is damp or humid, the paint applied to it will start to crack and peel very soon. This is also the case with plywood walls because it contracts and expands depending on the levels of humidity.
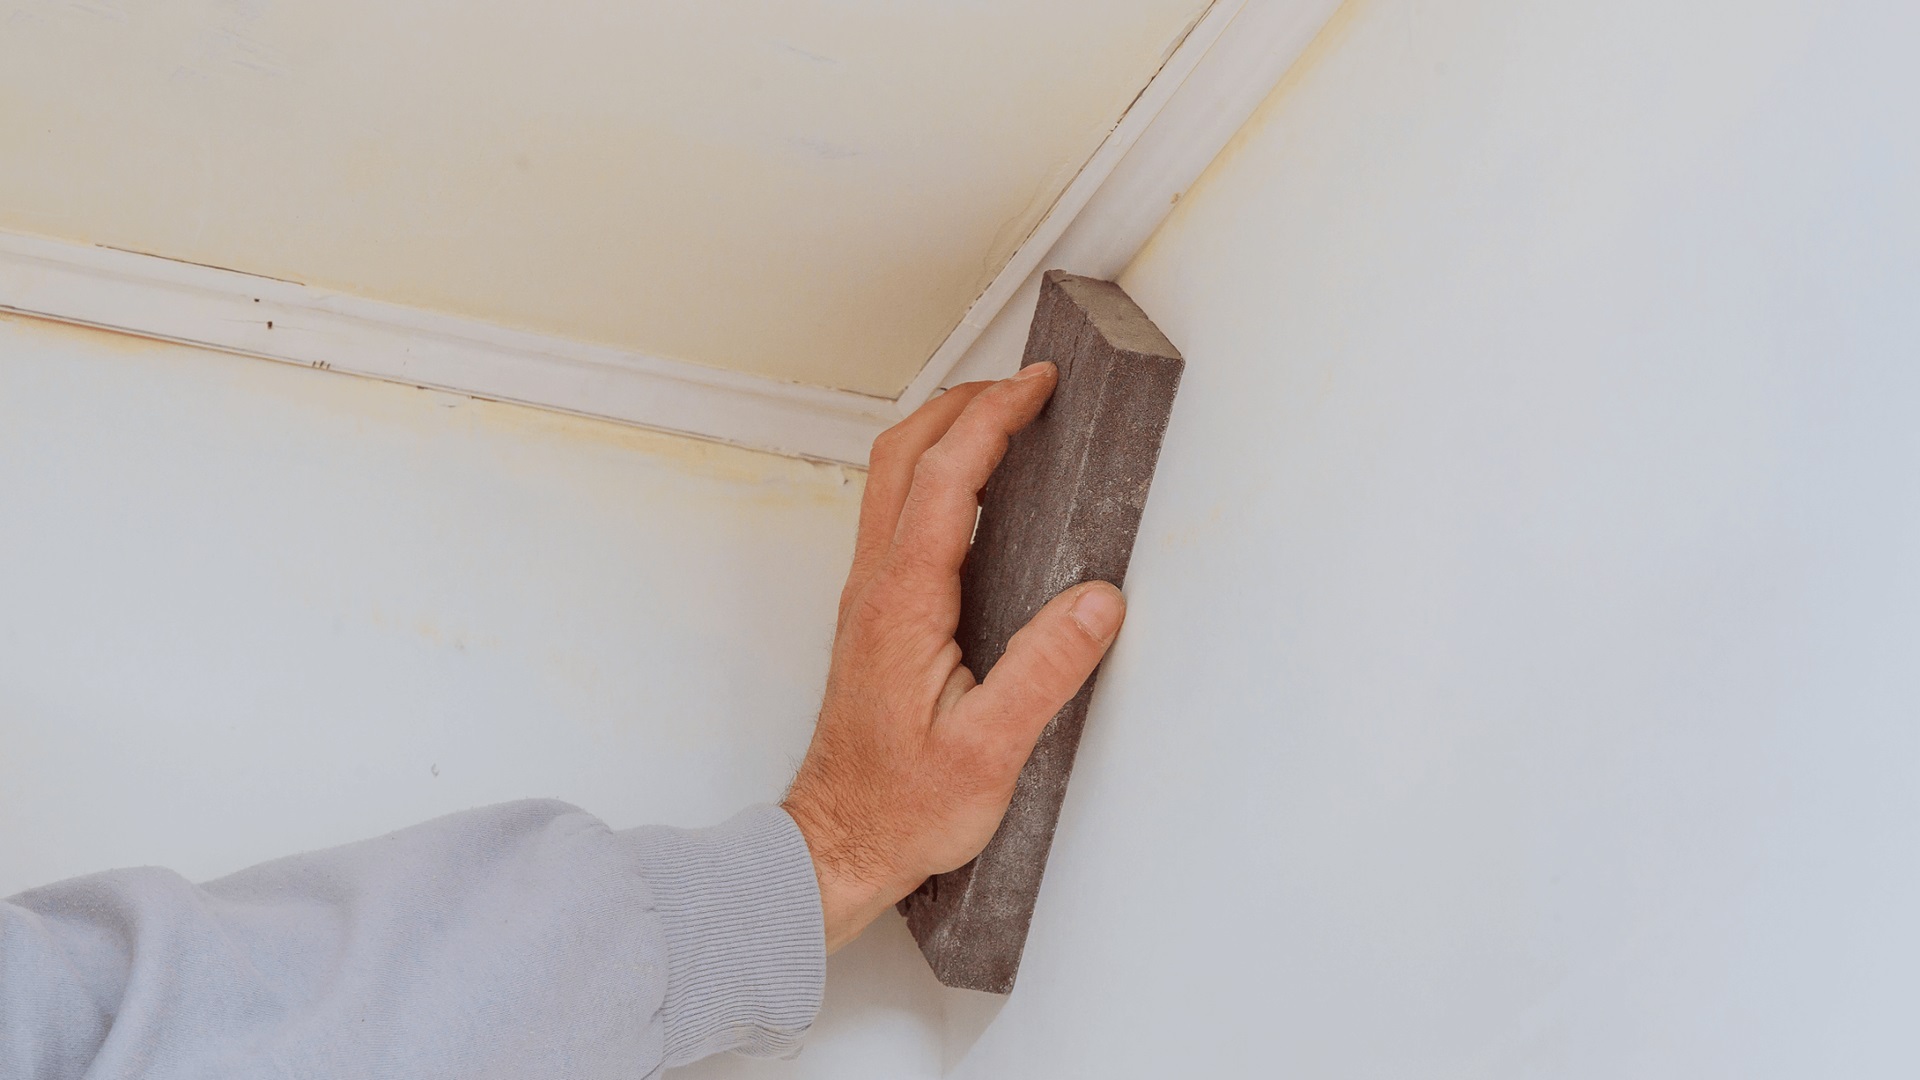
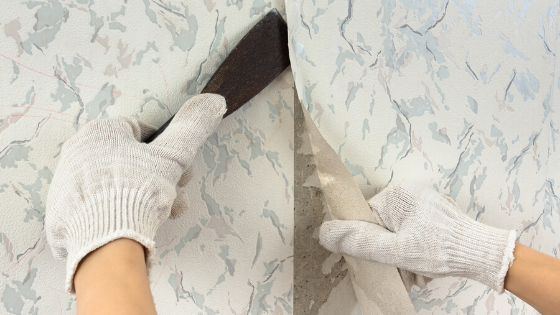
Solution: Remove any flaking or loose paint using a wire brush or scraper, then sand the surface and feather the edges. You might have to use a face filler if there is flaking in multiple paint layers. Lastly, use a high quality primer to avoid this from happening again.
Fading of Paint:
This one is not directly an issue with the wall, but the conditions in which it is present. If the wall is directly in the sunlight then the UV rays can fade its paint. The Ultraviolet rays present in the sunlight break down the pigments of colour in the paint which causes the paint to lose its sharp and bold colours.
Many homeowners ignore the initial lightening of paint but if not taken cared of immediately, this issue can become beyond repair soon and you might have to repaint the surface.
Solution: The simple solution is that you need to install a shade or trap to reduce the intensity of direct sunlight. If the wall is not directly under sunlight and fading still occurs then test for chalking, it might be fading because of chalking of wall or paint.
Blistering of Paint:
Also known as the bubbling of paint, this usually happens when the air or water is trapped under the paint, causing it to fill up. The air part can be taken cared of at the time of paint application. However, the water part needs to be solved before painting because it is the issue with the wall.
The blistering of paint occurs when the wall has water seeping in it from somewhere. Either the floor stays wet for long periods or there is a pipeline of water going from under the wall and is leaking water into it. These things can cause the water to make its way into the surface of the paint and cause it to bubble up.
Solution: If the blisters reach down to the substrate then you need to remove the source of water that is causing this, add some vents for the air to flow and keep walls dry, and then apply some primer before painting. However, if the blisters do not reach the substrate then just simply scrape them, sand the surface and apply paint.
Mildew and Mould:
There is any mould or mildew present on or inside the wall, then it can son creep up on your new paint and cause green and black spots on it. No matter how good the paint really is, if it is applied directly onto a surface with the infestation of such organic matter, it will result in green or black spots.
The mould and mildew usually appear on the walls that have no direct contact with the sunlight. Furthermore, surfaces that are mostly damp can also promote the growth of the mould and mildew.
Solution: Ask an expert to treat the wall for mildew or do it yourself by watching any tutorial on YouTube. Once treatment is done, use the best quality latex based paint and try to keep the wall moisture free.
Over to You:
Wall there you go! Everything that is usually wrong with our imperfect walls is discussed above. Be sure to fix the wall for any issue that you encounter before painting it. Otherwise, you will have to eventually work on the problem at the expense of your new paint getting ruined. You can also have a quick chat with us if you need any help with the wall painting.


