Interior painting is a great project that can freshen up a room quickly, but there are risks to painting it on your own. Amateur painting can be easy to spot because they leave significant signs of paint splatter, speckled colour, or missed spots. Before you decide to dip your roller, here are sign steps you should follow to help you paint like a professional.
1. Remove Furniture
Removing furniture from the room before you paint will help make the painting project much easier and avoid ruining furniture with spilled paint or splatter. To ensure that your furniture remains in the same condition, refrain from moving everything into the hallway where it could be damaged. Rending a temporary storage container is the most ideal way to ensure your furniture doesn’t get damaged. If that’s not an option, move the items to the center of the room, away from the walls and cover it with plastic drop sheets to protect it.
2. Protect your Flooring
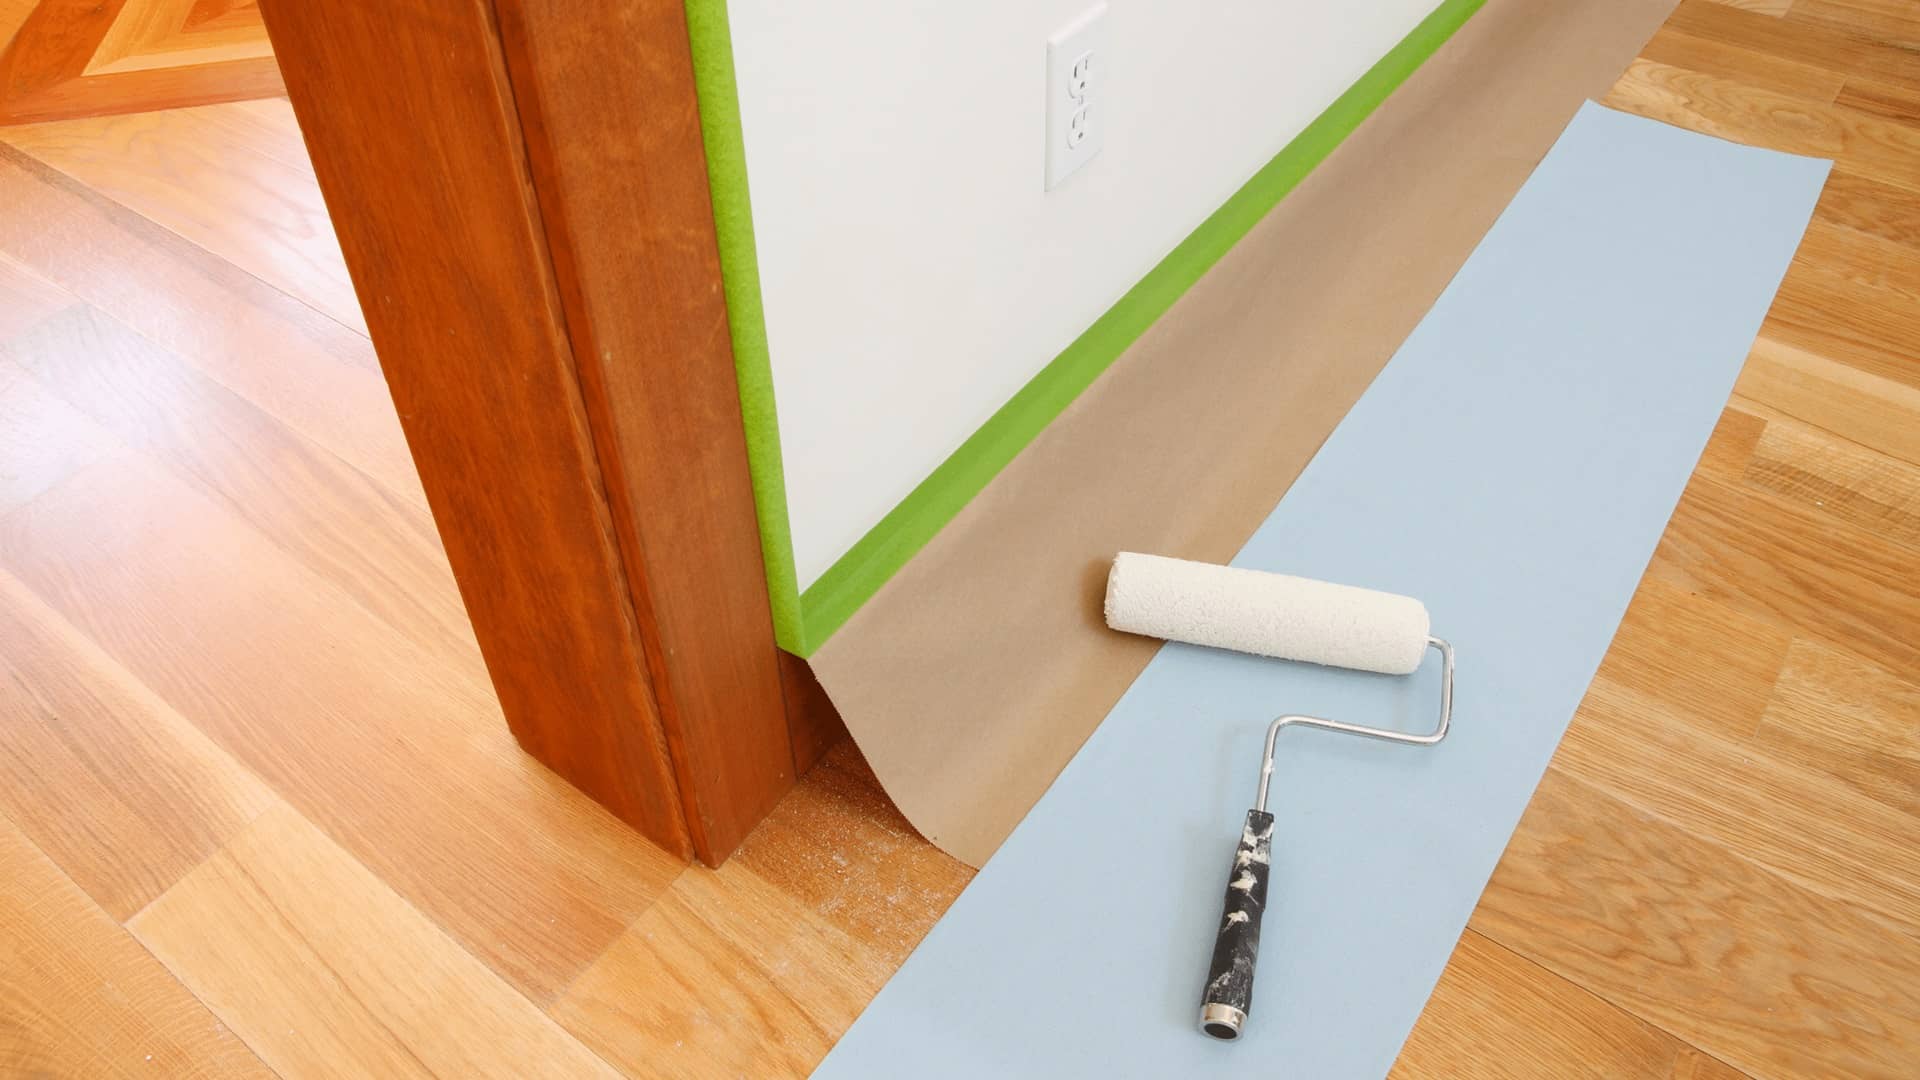
Protect your hardwood floor or carpet before beginning any painting project. While many DIY-ers will use newspaper, it’s generally not the best option as it can rip and shift throughout the room, exposing areas of flooring. Professional drop sheets placed throughout the room is the best course of action to take. If you’re on a tight budget, old bed sheets will work, but it’s important to ensure they are thick enough to prevent any paint droppings from soaking through.
3. Remove Wall Decor
It’s important to remove any wall decor prior to painting to ensure walls can be fixed and provide you with the opportunity to change your layout once you’re finished. Once all the wall decor and fixtures have been removed, remove any nails and picture hangers and fill the holes with spackling before you paint. Be sure to let the spackle dry and sand down any leftover spackle before you start painting.
4. Clean the Walls
To ensure a professional end result, it’s important to have a clean, smooth surface prior to starting the paint job. Any dark marks can show through a coat of paint, and oil or other substances can change the consistency of the paint being applied. Use a solution of water and mild cleanser to clean all of the walls to be painted. Be sure to rinse the walls thoroughly when you’re finished and leave them plenty of time to dry before you start to paint. Using fans on your walls can help to speed the drying process.
5. Always remove outlet covers and switch plates
Professional painters don’t try to paint around tiny little outlet covers, and neither should you. If you don’t remove outlet covers, you will end up with visible brush strokes around the outlet or even paint on the outlet covers that is nearly impossible to remove. Remove the outlet covers and switch plates throughout the room to be painted, and take care not to paint the actual sockets or switches themselves. If you’re painting the ceiling of a room, be sure to remove light fixtures and ceiling decor whenever possible. Always be sure to turn off the power to the room from the circuit breaker before working on any electrical outlets or removing light fixtures.
6. Bring out the Tape
To avoid any mistakes of smearing paint in areas you shouldn’t such as baseboards, window frames and other mouldings, use a professional grade painters tape to tape off these areas before you start. Investing in high quality painters tape may seem like an added expense, but these few extra dollars can be the difference between a professional, crisp finish around the edges, and endless touchups. Taping is a simple process, but can take a considerable amount of time. It’s important to take your time and not rush through it. Be sure that none of your tape is on the wall to be painted or your old wall colour will be evident around the perimeter of the room. By taking the time to prep a room, you will be one step closer to achieving professional painting results.


